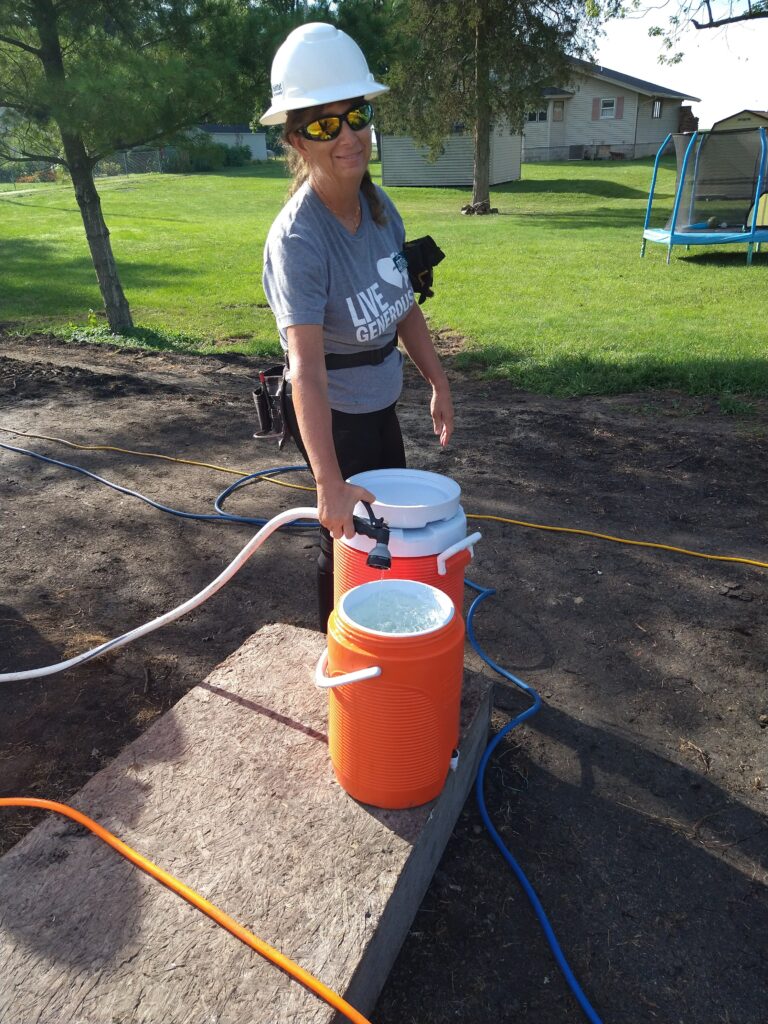
Today was another beautiful sunny day in Sullivan, with temperatures in the mid 60s in the morning and getting up to mid 80s in the afternoon. Even for us Floridians, the afternoon sun gets really hot, but we try to stay hydrated. I had the task of making sure there was plenty of water available.
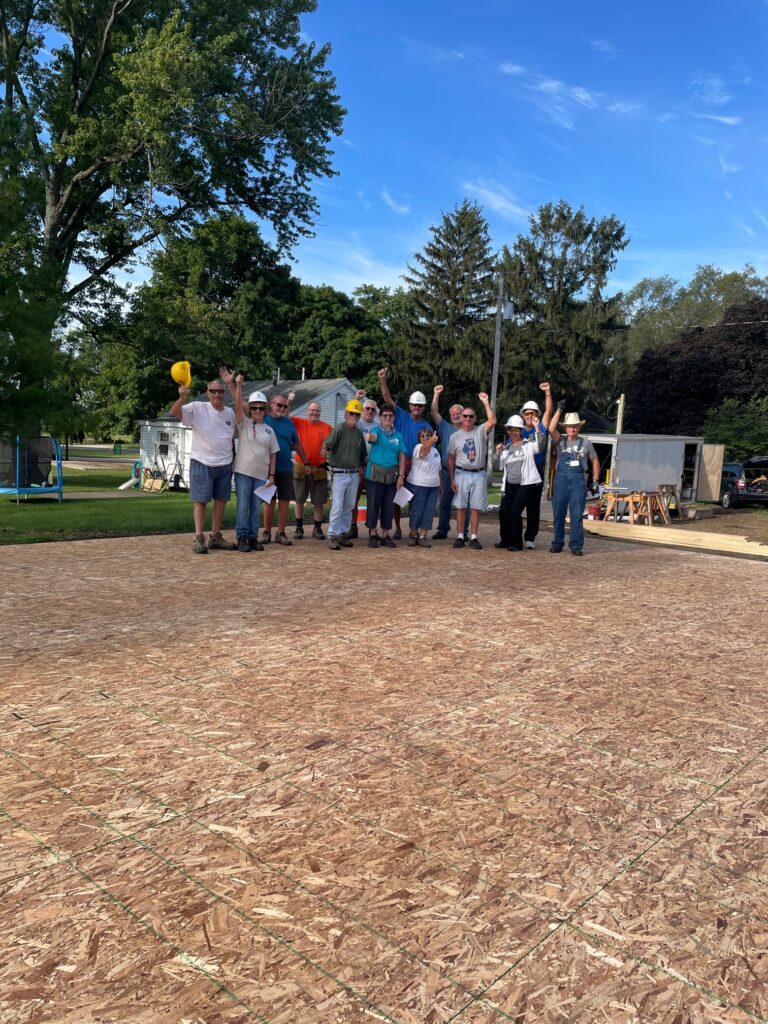
One of our first priorities was to get a team picture on the ‘dance floor’…what a good lookin’ group 🙂 .
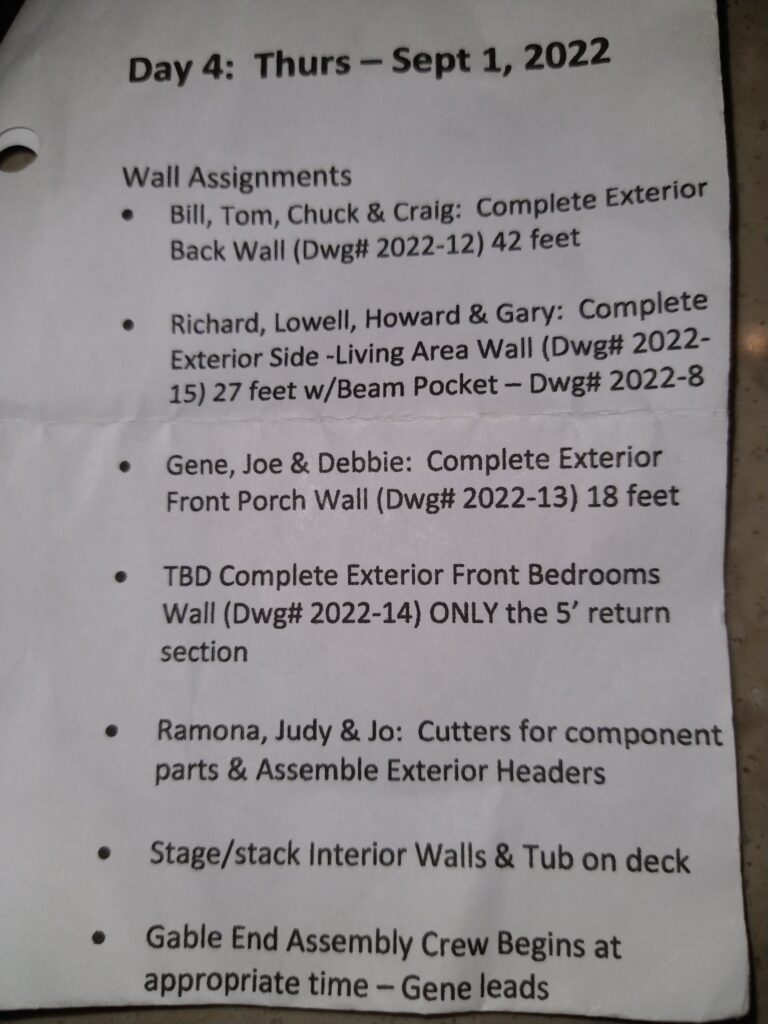
After our wonderful morning devotional and prayer, Bob handed out our Day 4 punch list. Our goal today was to get some exterior walls up. The next big milestone is to have all the walls up and ready for roof truss installation by Tuesday of next week….whew, I’m tired just thinking about it :-).
Our job was to complete the exterior front porch wall. The first step was to create both the top plate to the same dimension, as indicated on the plans. We then secured them both together so when we marked the placement of the studs, the stud locations would absolutely line up. Here is a look at our wall plan:
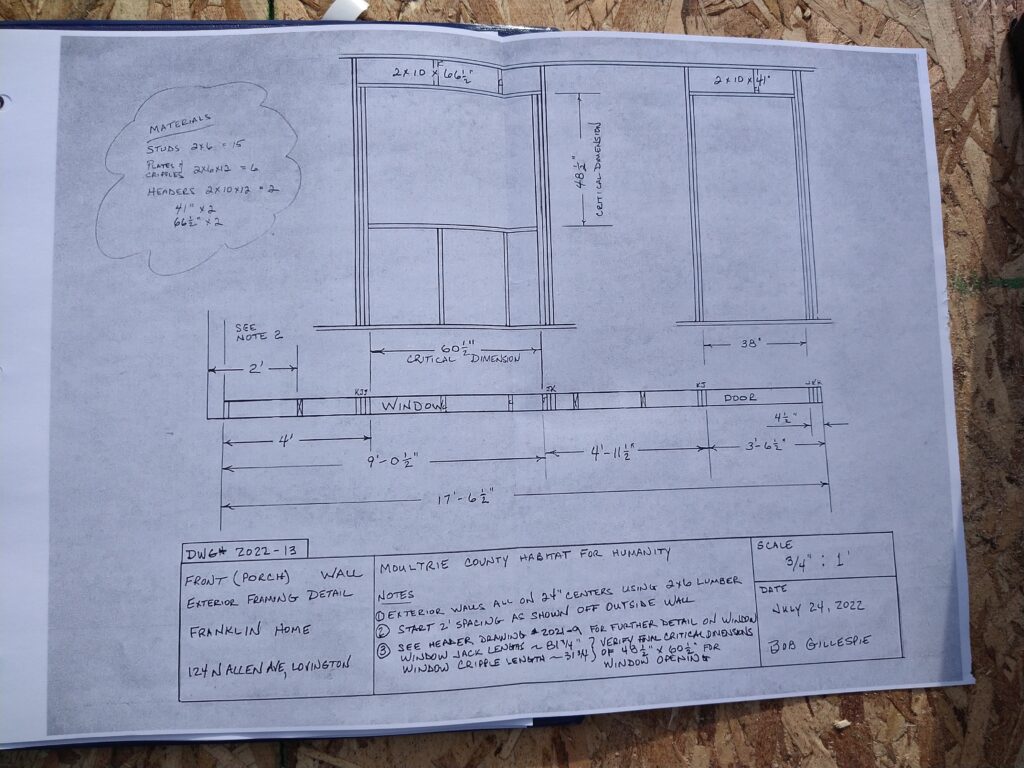
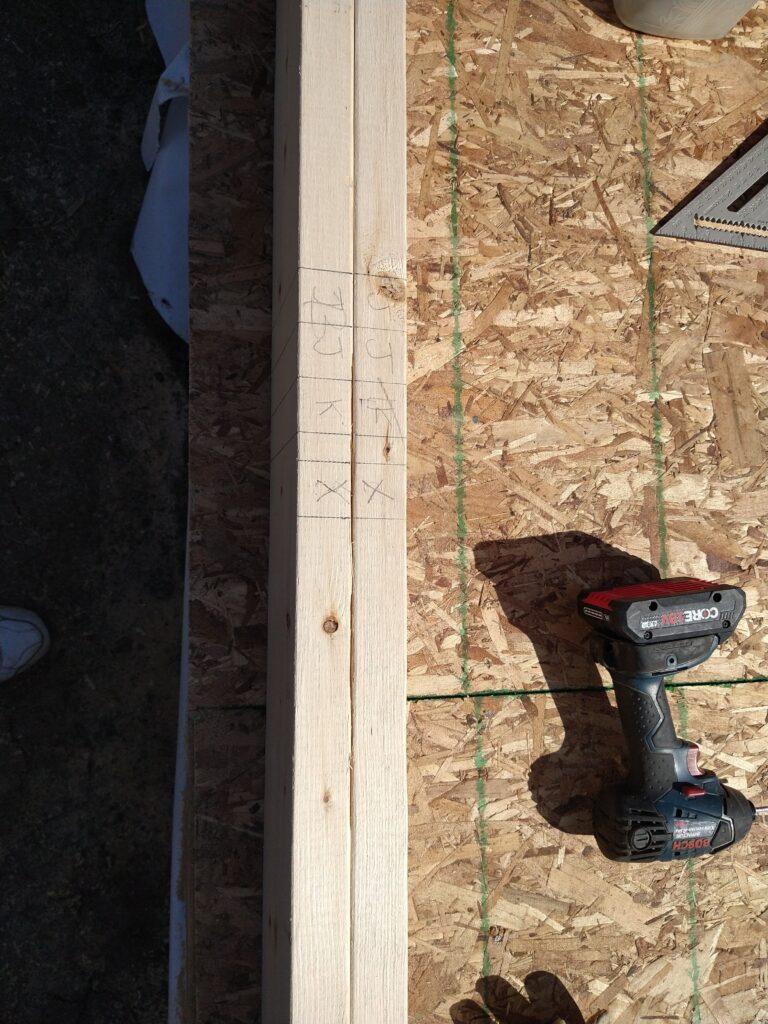
After we had the right total length, we carefully measured and marked the locations for the studs (every 24 inches), and the windows. The windows are framed using 3 studs – 1 ‘King’ (which spans the entire height of the wall) and 2 ‘Jacks’ which are cut shorter to support the window header. Here’s what our layout looked like:
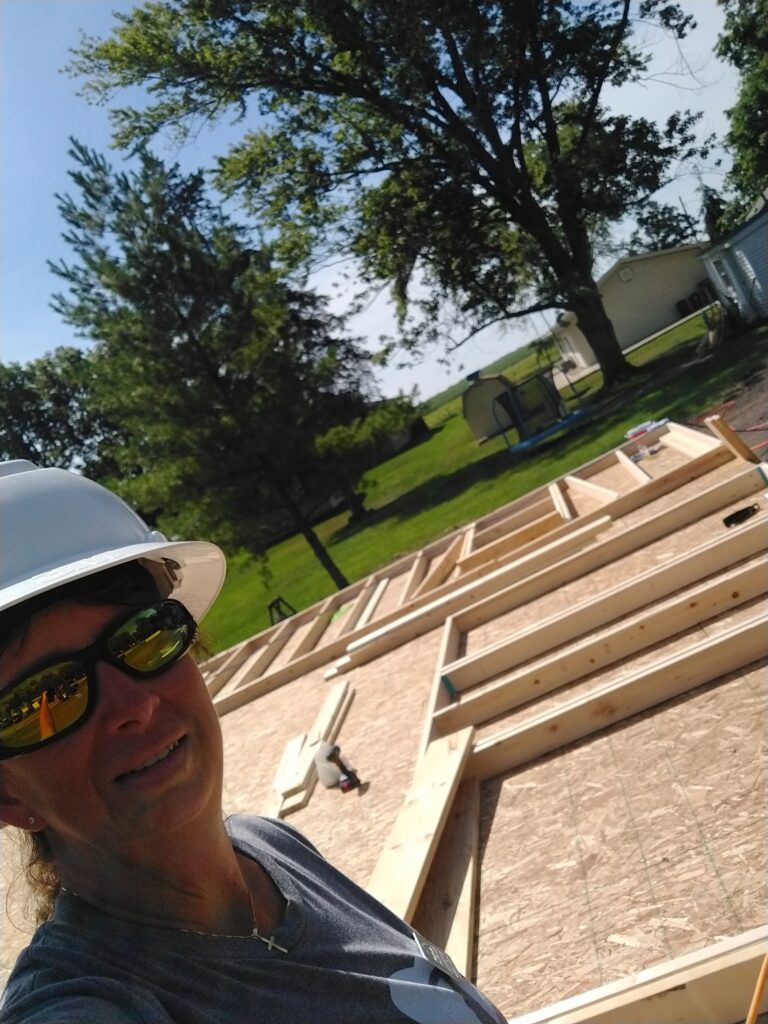
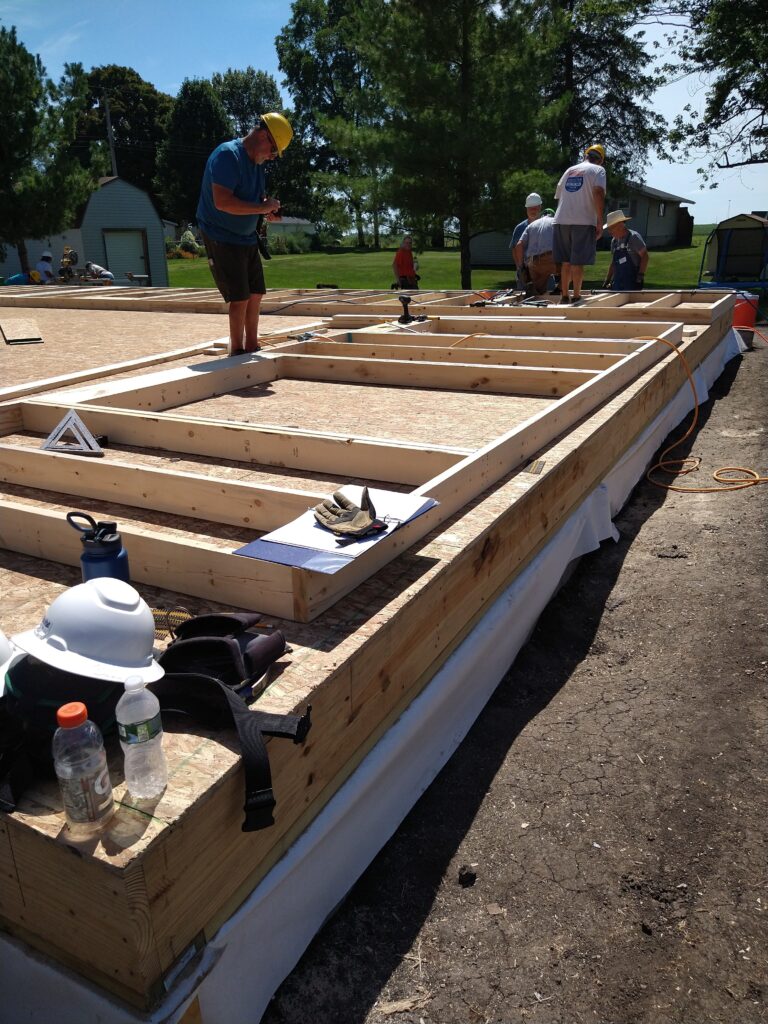
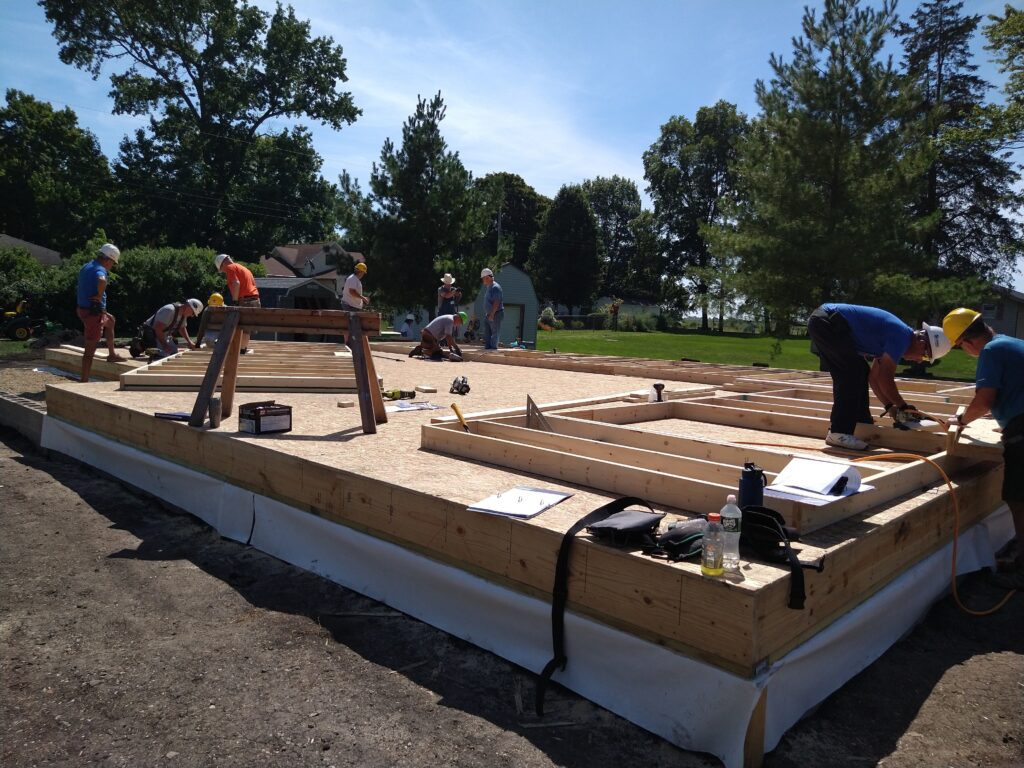
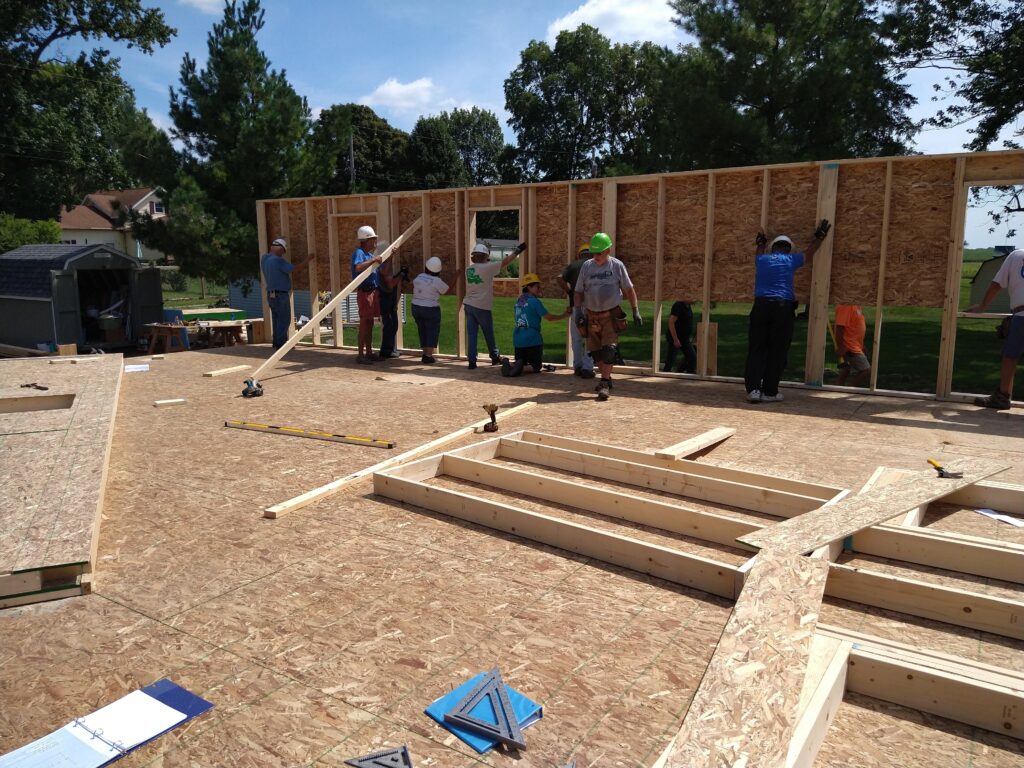
We then positioned the marked top and bottom plates, and matched the studs at the appropriate marks. Below is a view of the wall layout. As you can see in the background, the other teams were working in parallel to get other walls assembled.
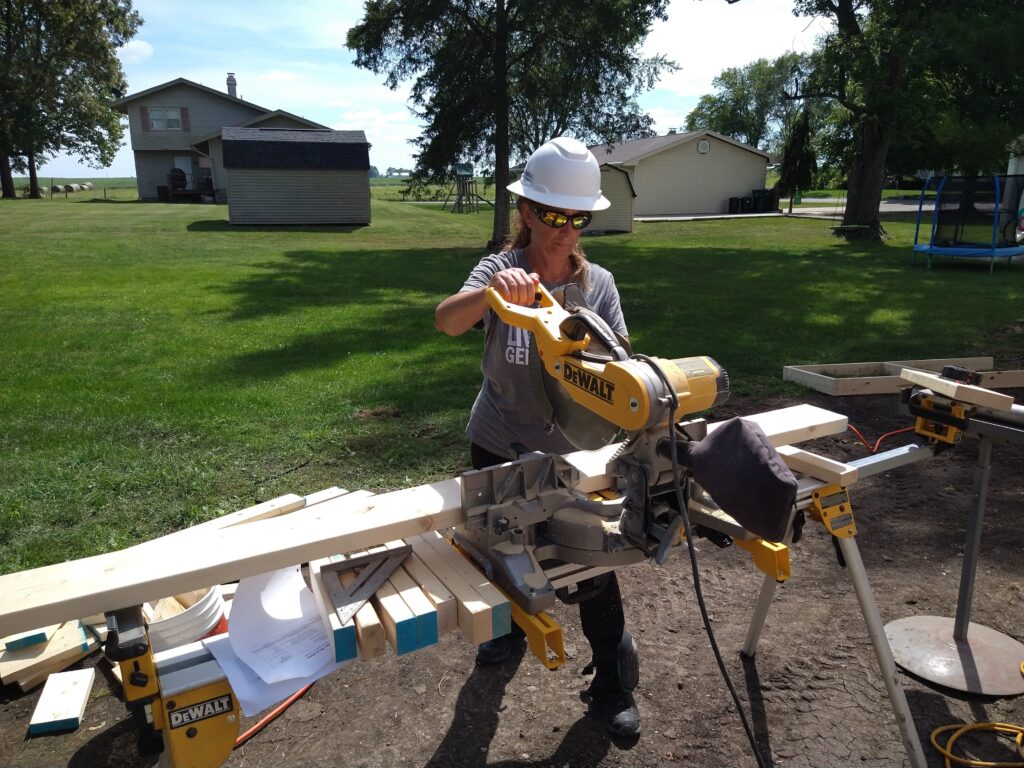
As you can imagine, there was a lot of cutting that was needed. We had a dedicated cutter team that would keep everyone going.
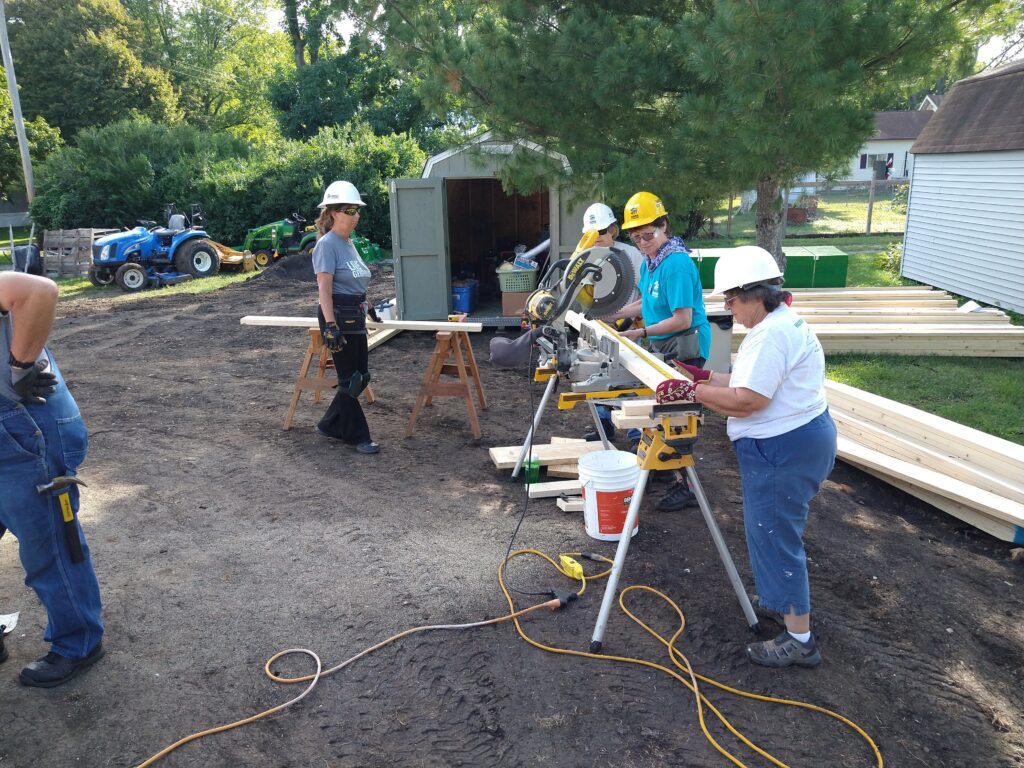
When they were busy, I filled in…
We used a nail gun to secure the studs, assuring that they were level and square. It was then time to cut and install the header, along with the supporting ‘Jack’ studs.
The last step of the wall assembly is to install the top half of OSB plywood to the wall. This gives it stability, and it is certainly easier than trying to install it after the wall is up. We started this step, but will finish it up tomorrow.
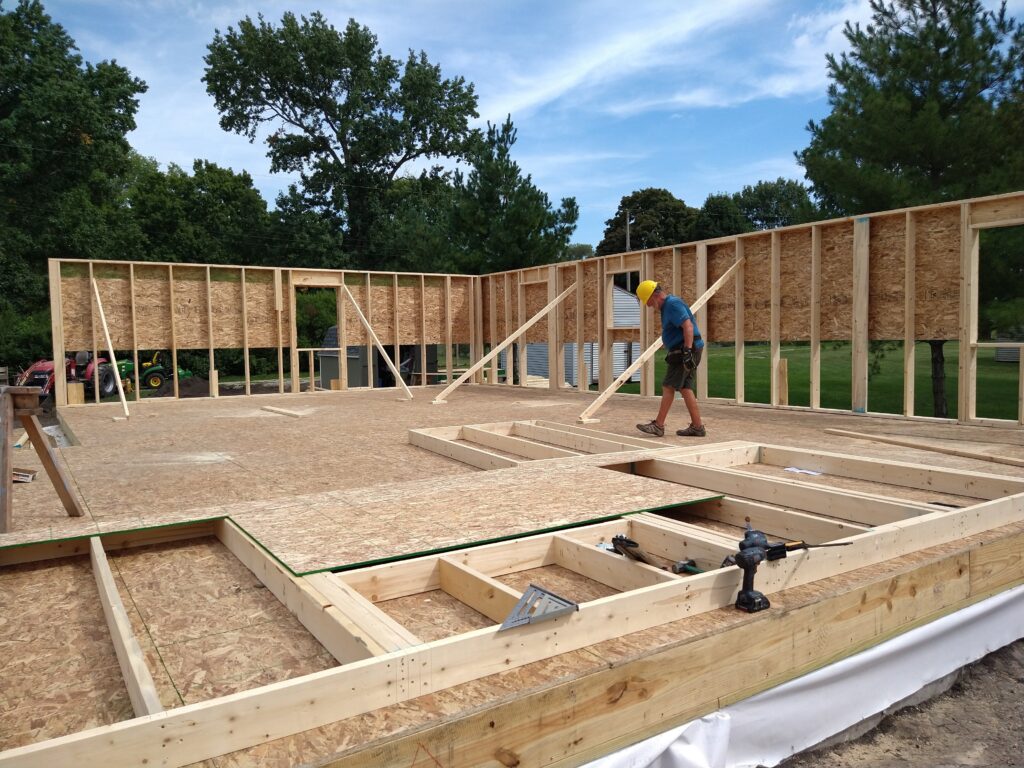
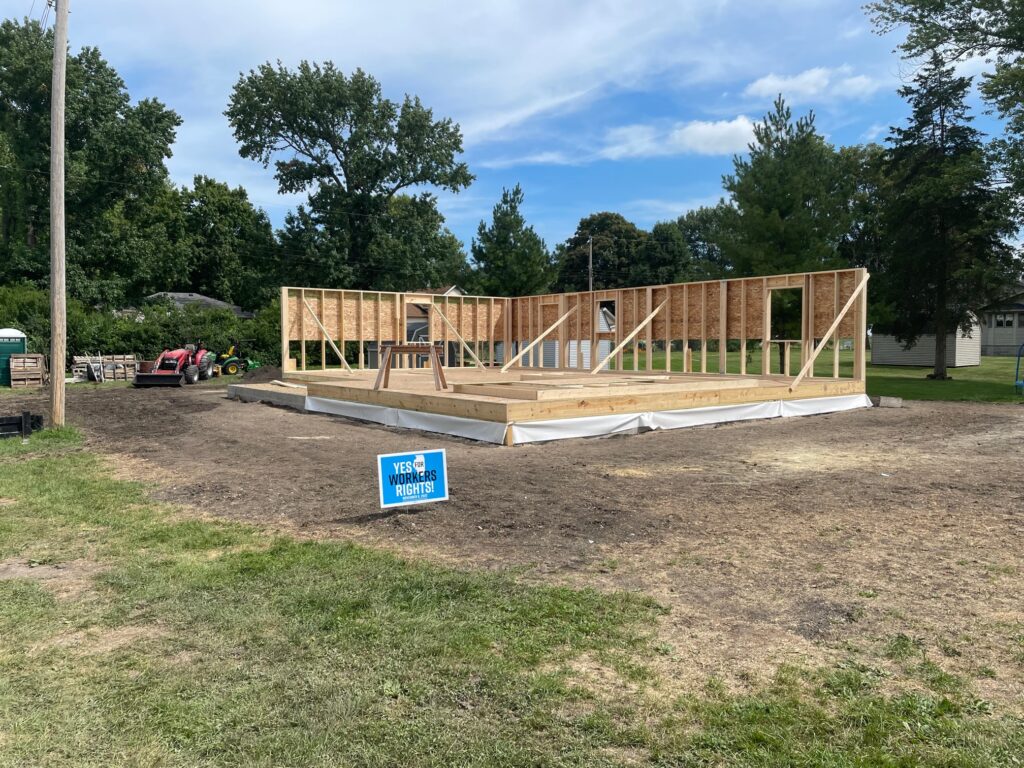
As you can see in the background, we lifted two of the exterior walls in place…whoo hoo. The whole team lines up and lifts the walls. It’s definitely true that many hands make light work!
Amazing!
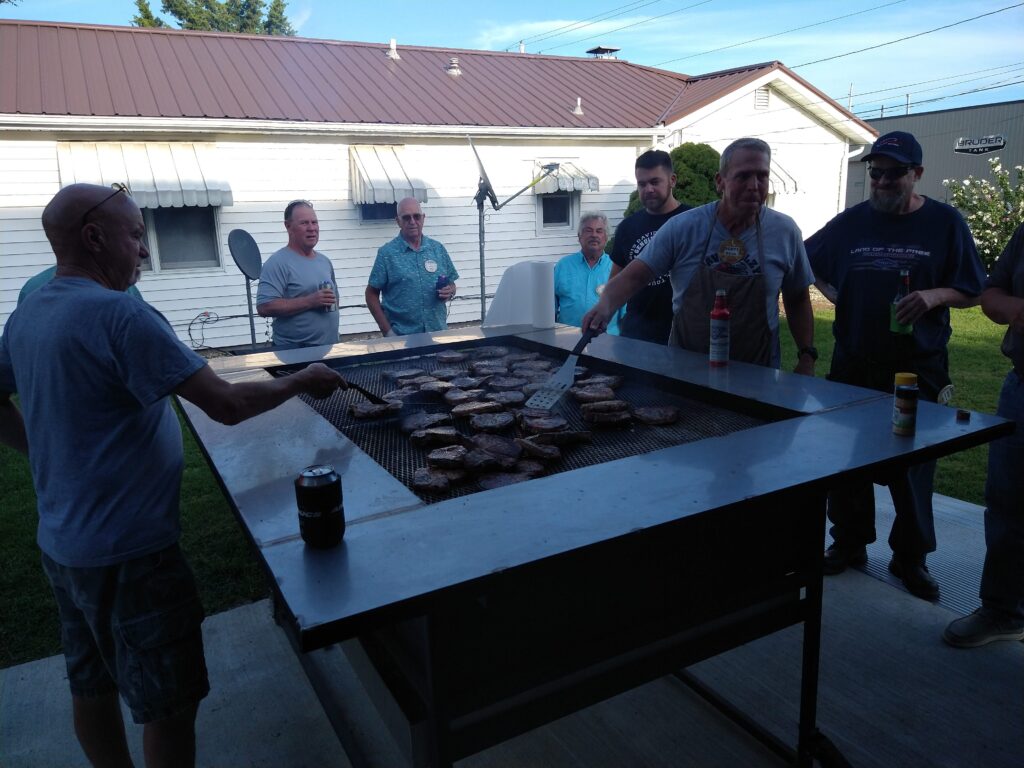
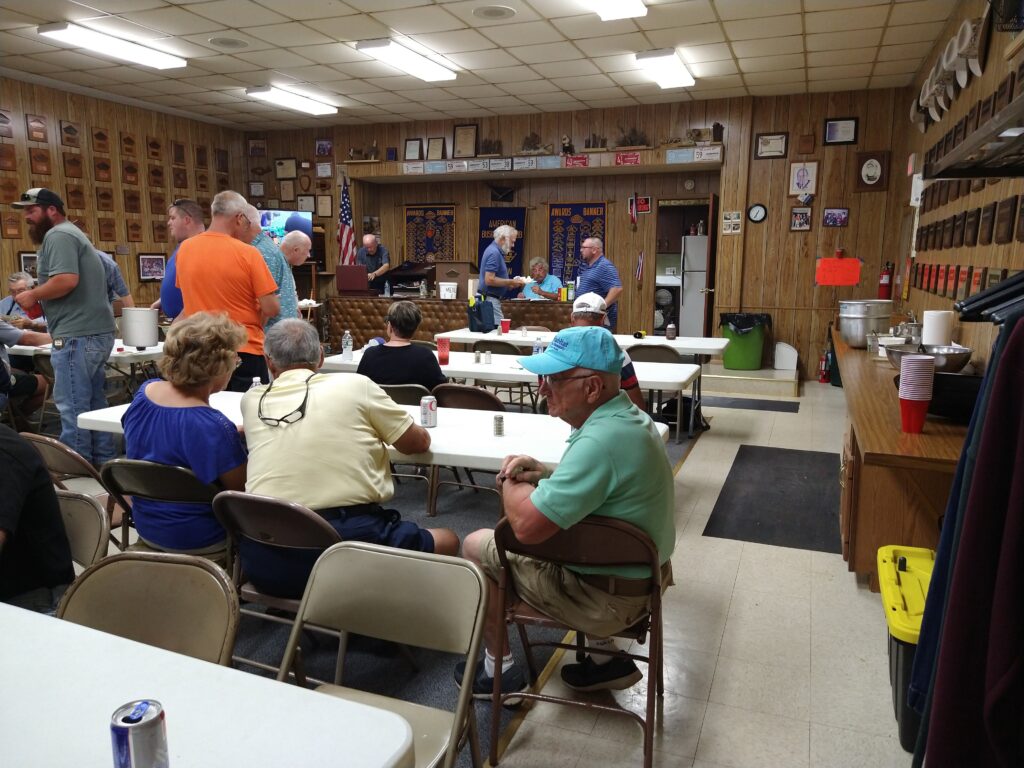
After getting back to the coach and showering, we were off to a team dinner at the local Ambucs. Ambucs is a really great organization of ‘good ‘ol boys’ who build handicap ramps and purchase mobility bikes for children. They certainly know how to cook for a crowd. We were treated to grilled pork chops, baked potatoes, Cowboy baked beans, salad and dessert…a crazy amount of food!
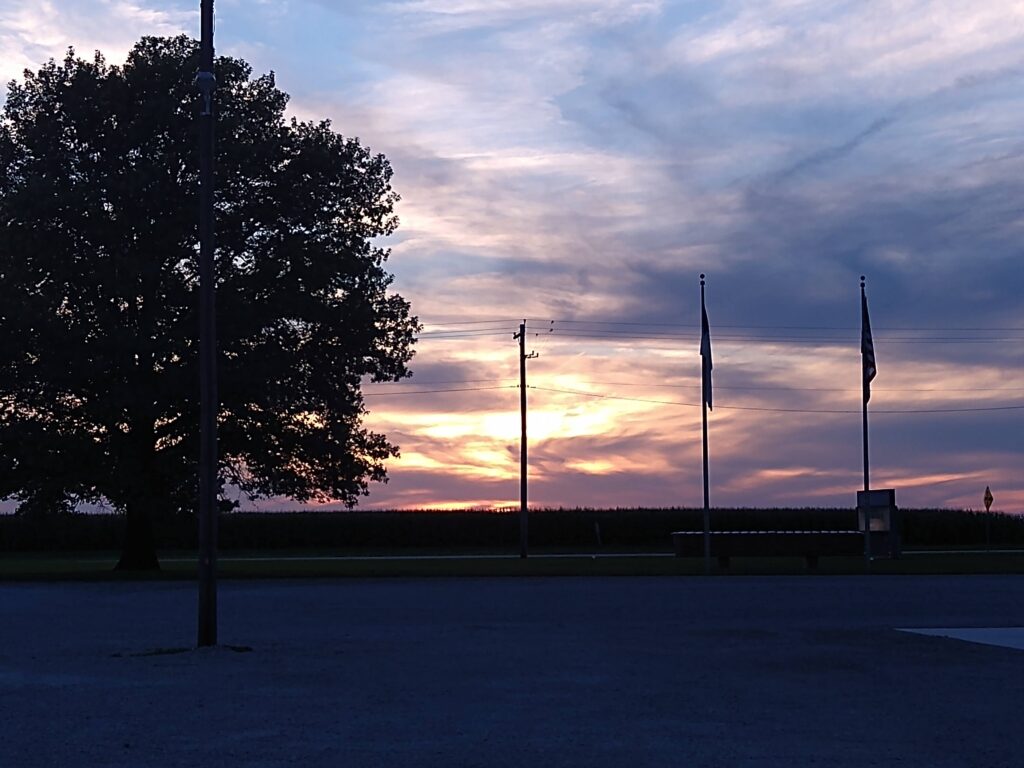
When we got back to the coach, I noticed a beautiful sunset. What an amazing way to end an exhausting, exciting and satisfying day. God is Good!
I am always impressed with the wood products used for the project. The wood is clean, smooth and free of knots and blemishes. I don’t know where this wood comes from. It’s not the regular wood from Home Depot. It makes a big difference in ensuring the build is square , flat and perfect. It allows you to do the build without having to correct product problems. The project is moving right along with solid planning and execution. Each day reveals great teamwork.